Q: How can I set up my ZenPass account in 30 minutes?
A: Setting up your ZenPass account is simple and can be completed in just 30 minutes. Follow these steps to ensure your profile is ready for bookings:
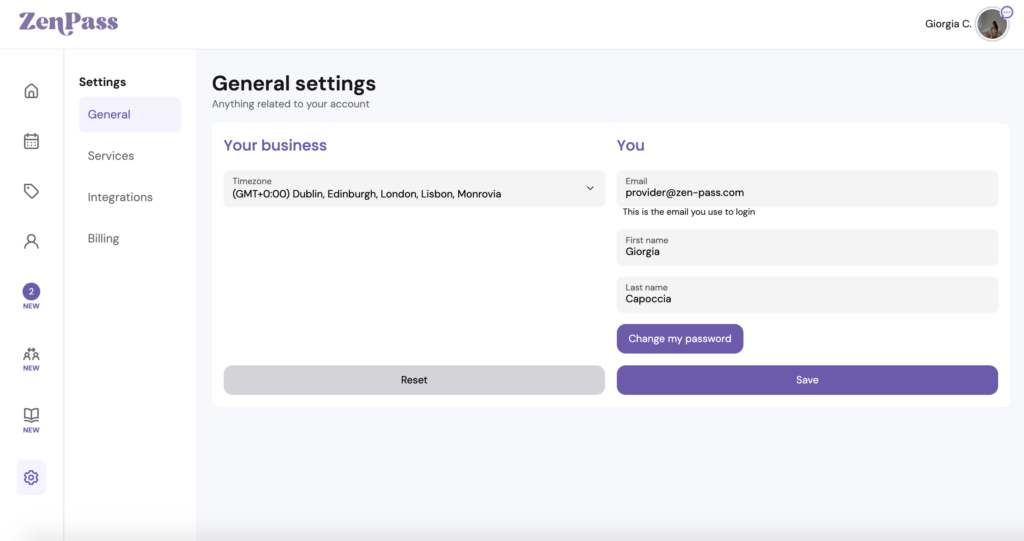
- Access Your Dashboard – Select ‘Dashboard’, then navigate to ‘Settings’ from the left-hand menu.
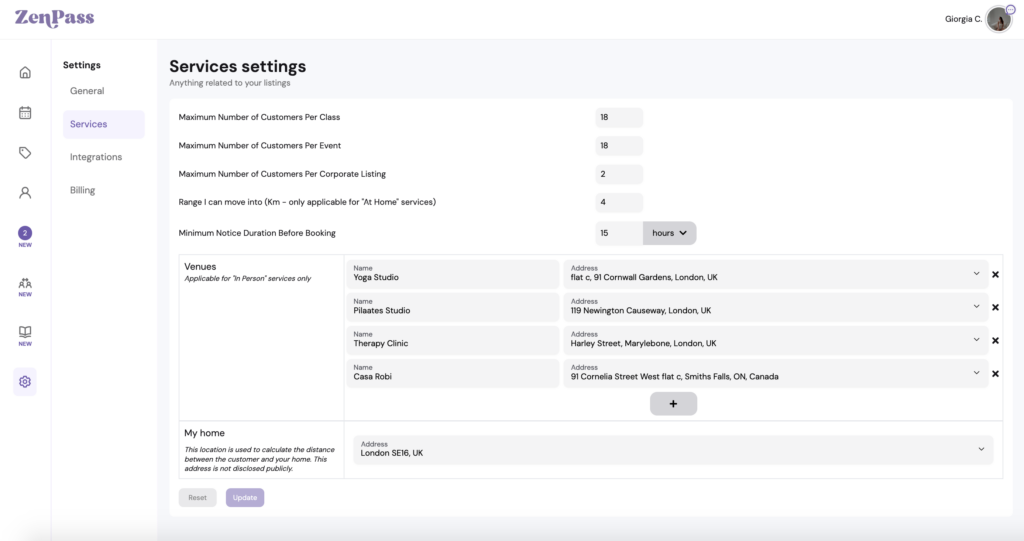
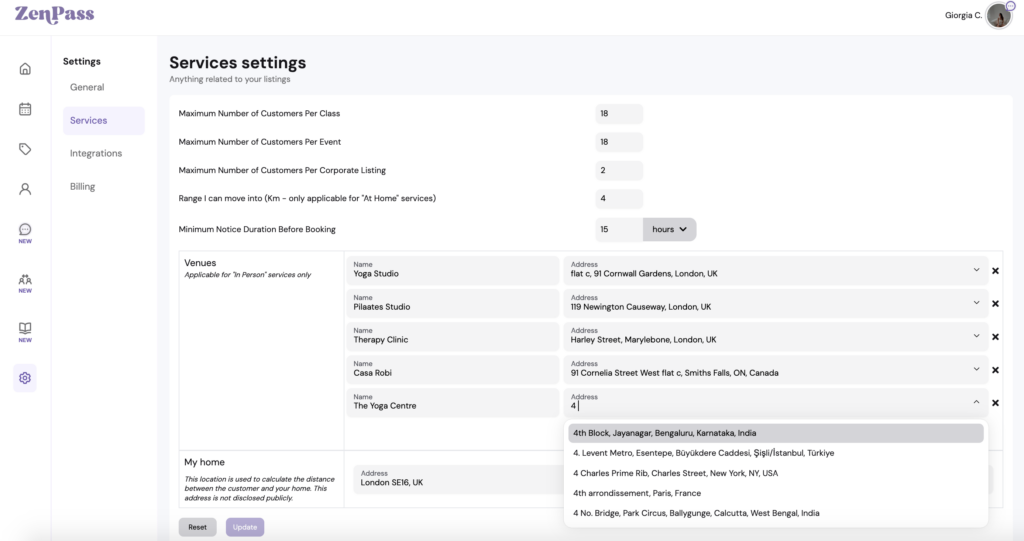
- Set Up Your Services – Click on ‘Services’ and add the venues where you operate, including the name and location.
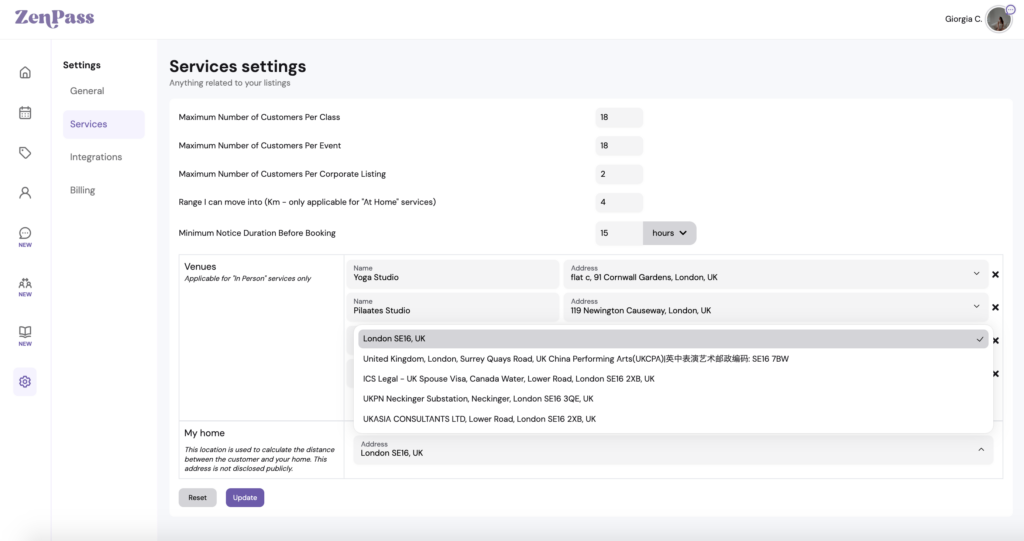
- Add Your Address – Enter your location (e.g. London SE16, UK) and click ‘Update’ to save.
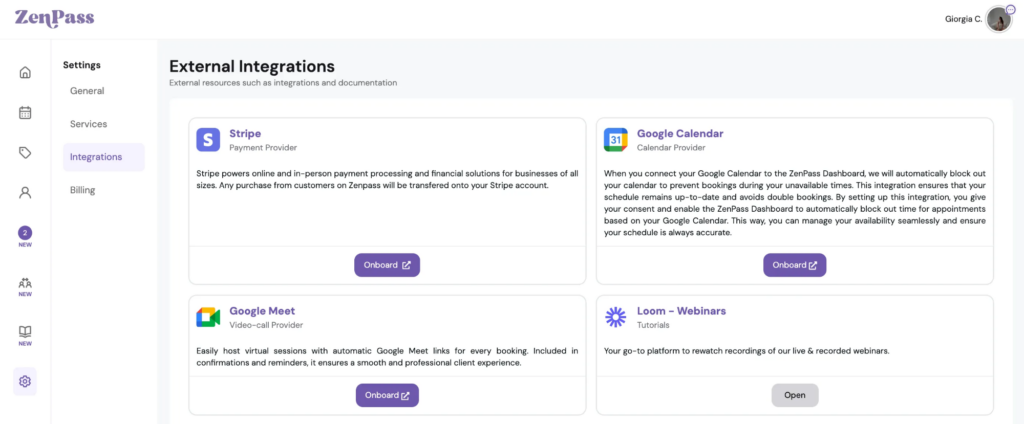
- Integrate Your Tools – Go to ‘Integrations’ and connect the following:
- Stripe – This is essential for processing payments. Without a Stripe account, payments cannot be received.
- Google Calendar – This will help you manage your schedule, but it will not be visible to your clients.
- Google Meet – Required for hosting online events.
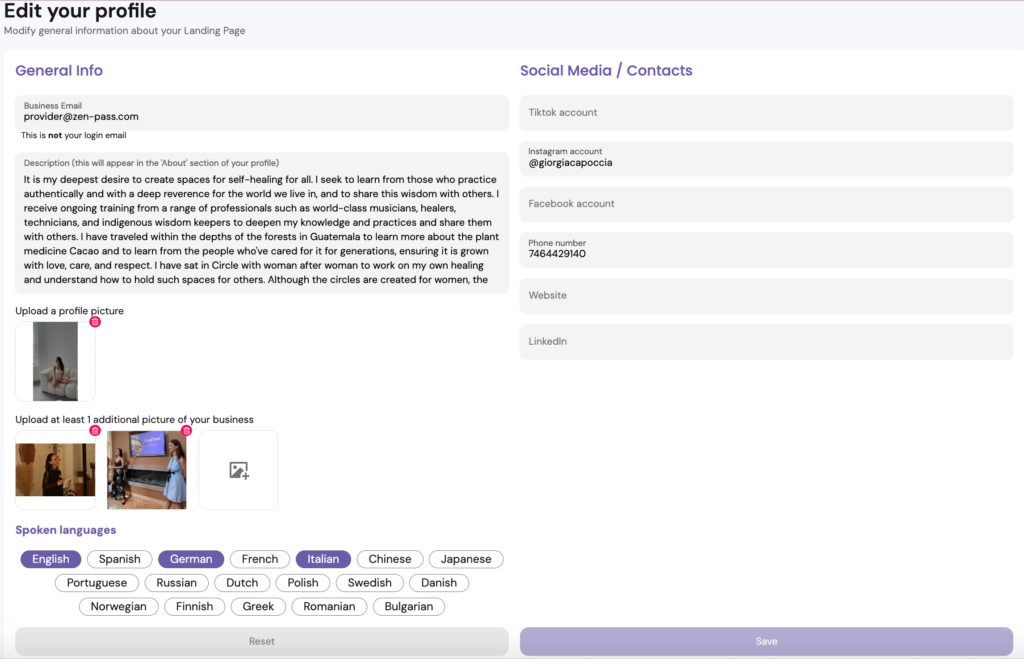
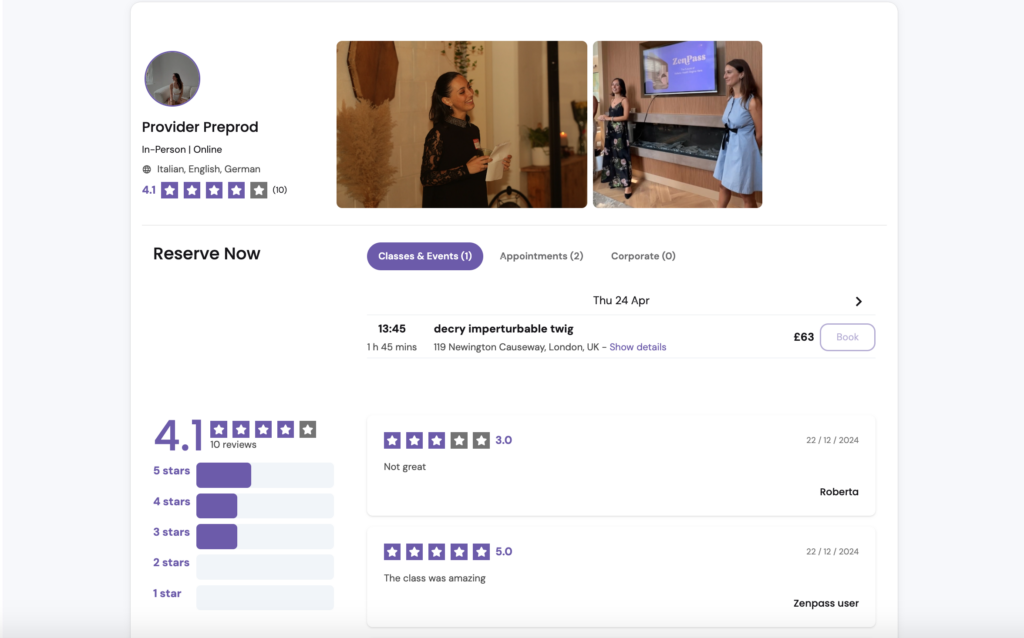
- Finalise Your Profile – Select ‘My Profile’ from the left-hand menu and start editing. Add high-quality images, links to your social media profiles, and the languages you speak to make your profile more engaging.
- Update After Each Step – Always click ‘Update’ or ‘Save’ to save your changes.
By following these steps, you will have a fully functional ZenPass account, ready to accept bookings and grow your wellness business.