1. What is ZenPass?
ZenPass is a platform that empowers wellness, coaching, and service-based professionals to launch client-ready websites in minutes — with no coding or tech expertise required. From therapists and yoga instructors to life coaches and energy healers, ZenPass simplifies the business backend so you can focus on your craft.
2. Benefits of Using ZenPass
- No Code, No Headache: Create your website using intuitive tools.
- Built-In Booking & Payments: Accept client bookings and payments without extra plugins.
- Customisable Design: Match your brand colours, logos, and imagery.
- SEO Friendly: Pages are structured to rank well in Google and support organic traffic.
- Mobile Responsive: Your website looks great on phones, tablets, and desktops.
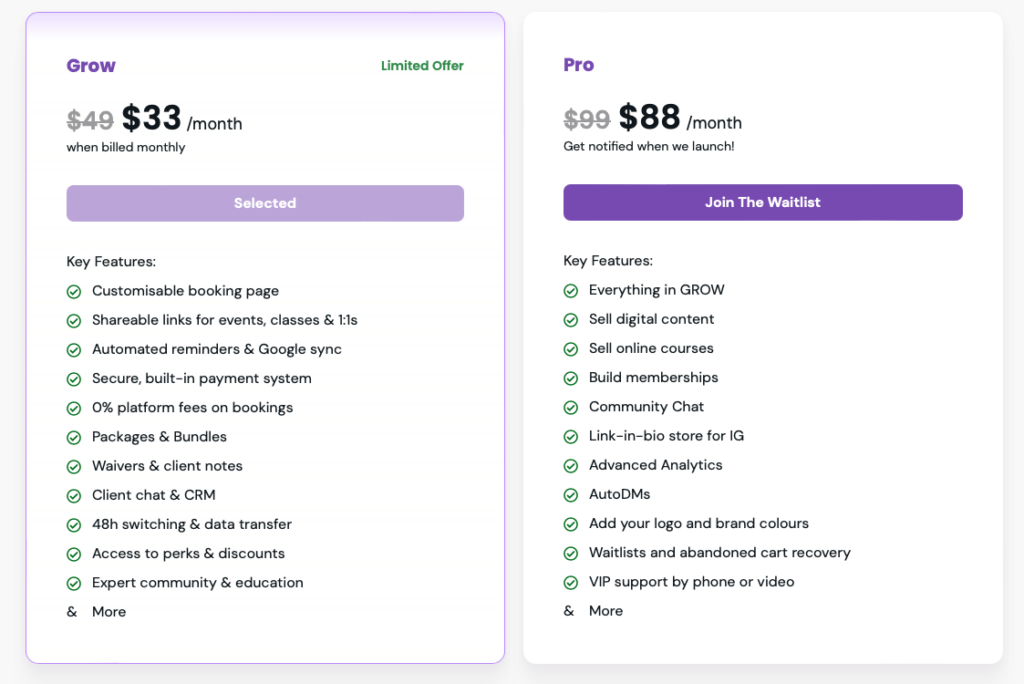
3. Step 1: Sign Up and Choose Your Plan
- Visit zen-pass.com
- Click “Get Started” or “Create Your Profile”
- Choose a plan that suits your needs:
- Starter Plan (great to explore the basics of a booking software & client management tool)
- Pro Plan (adds custom branding, waivers, and advanced booking tools)
- Enter your email, name, and create a password
Time required: 2–3 minutes

Your public profile is your digital storefront. To make a strong first impression:
- Upload a high-quality profile photo
- Write a compelling About section (ideally 150–300 words)
- Add your location, service areas (online/in-person), and working hours
- Include social links if you want clients to find you on Instagram or LinkedIn
SEO tip: Use your full name + service in the About section (e.g., “I’m Raembla, a transformational therapy provider based in the UK”).
5. Step 3: Add Your Services and Availability
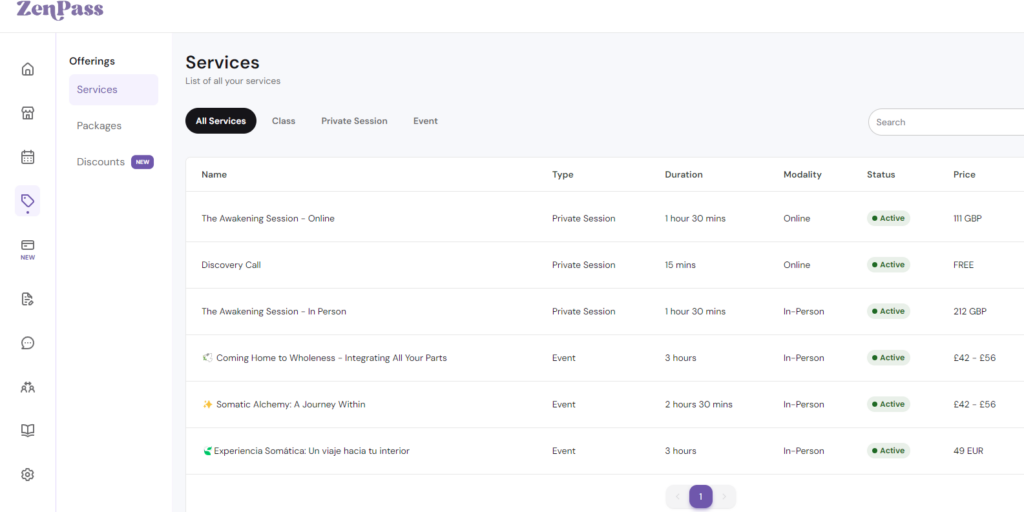
Now define what you offer:
- Go to Offerings**> Add New Offering**
- Set your session name (e.g., “60-Minute Therapy Session”)
- Add a clear description of what’s included
- Set the duration and price
- Enable online booking if you’re offering virtual sessions
- Set your weekly availability so clients can book in real time
💡 Pro tip: Use keywords like “online therapy”, “life coaching for women”, or “hypnotherapy UK” in your service descriptions.
6. Step 4: Customise Your Website Design
ZenPass lets you personalise your website to reflect your unique brand. Head to:
- Design Settings
- Choose a layout style
- Add your brand colours
- Upload a logo and banner image
- Preview how your site looks on mobile vs desktop
Branding Tip: Stick to 2–3 colours for a clean, professional appearance.
7. Step 5: Connect Payments
To receive payments securely:
- Navigate to Settings> Integrations > Connect Stripe
- Follow the Stripe onboarding steps (usually takes 5 minutes)
- Once connected, clients can pay directly through your ZenPass site
Supported methods: Credit/debit cards, Apple Pay, Google Pay, Klarna and more (depending on Stripe region)
8. Step 6: Preview and Publish
You’re nearly there!
- Click “Preview Site” to see how it looks live under My Page
- Make final tweaks (typos, formatting, etc.)
- When ready, copy/paste the unique booking links of your listings or your website link
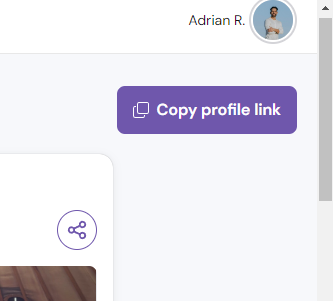
ZenPass will generate your public website link, like:
You can use this on:
- Instagram bios
- Tiktok bio
- Linkedin bio
- Booking link on your website
- Email signatures
- Google My Business
- Client handouts / QR codes
- Client DMs
9. Example: Raembla Transformational Therapy
Raembla, a certified transformational therapy provider, built his website with ZenPass in under an hour. Here’s how she did it:
- Created a strong bio using keywords like “transformational therapy in London”
- Offered 1:1 and group sessions with Stripe-integrated booking
- Used a calming colour palette and clear CTAs
- Now uses his ZenPass link in all marketing materials
Her live site: (Insert live ZenPass link if accessible)
10. Optimising Your Site for SEO
To help your ZenPass website rank on Google:
Use keywords in:
- Your name/title (e.g. “Sarah James – Online Life Coach”)
- Service names (“Virtual CBT session”, “Hypnotherapy UK”)
- About section
Add location-based terms if relevant:
- “Reiki healing in Bristol”
- “Online therapy for women in the UK”
Link to your ZenPass site from:
- Your social bios
- Guest blog posts
- Local business directories
Encourage clients to leave testimonials after booking their sessions, their keywords will help you rank higher on search engines
11. FAQs
Q: Can I use my own domain?
A: Not yet, but it’s on the roadmap for future ZenPass Pro features.
Q: Can I offer group classes or workshops?
A: Yes — just create a service and set the capacity to more than one.
Q: Can I embed my ZenPass site into my existing website?
A: You can link directly to it or use ZenPass as your main site.
12. Final Tips for Success
- Update your availability regularly to stay bookable
- Re-share your link every month on socials
- Ask satisfied clients for Google Reviews (mention your site)
- Add fresh testimonials or services to keep your site dynamic
Ready to Launch?
Head over to zen-pass.com and start building your site today. Your clients are already looking for you, ZenPass helps them book you with ease.
Leave a Reply